Tuya Wifi Bulb control?
- Replies 25
- Views 13.8k
- Created
- Last Reply
Top Posters In This Topic
-
starslayer74 11 posts
-
Matt 7 posts
-
Johno 6 posts
-
DexDeadly 1 post


Most Popular Posts
-
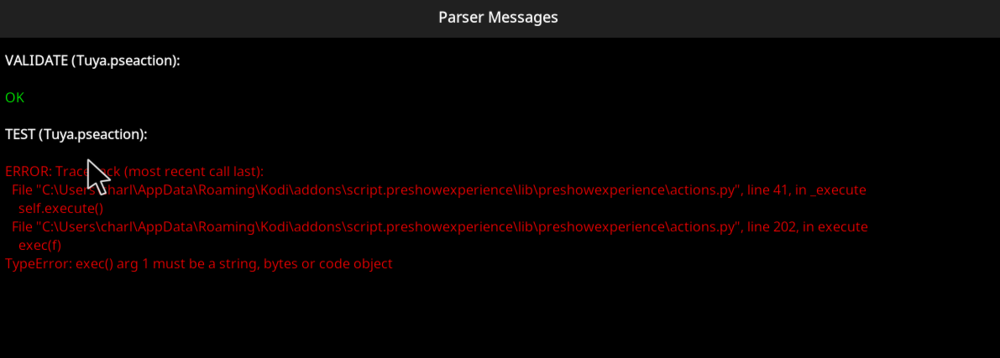
STEP 3 Create a action script to use with PreShow. Change the ** ** to suit. http://**YOUR HA IP ADDRESS**:8123/api/services/script/turn_on HEADERS: {"Authorization": "Bearer **PASTE
-
This helped immensely! I appreciate the assistance, I've got it up and running and yes, now I've got some other ideas too 🙂
Posted Images
Featured Replies
Topics
-
IMAX Enhanced - Bumper (Short) 4K Dolby TrueHD 5.1 File Information Submitter ToastyMaster07 Submitted 06/26/2026 Category Brands View File
-
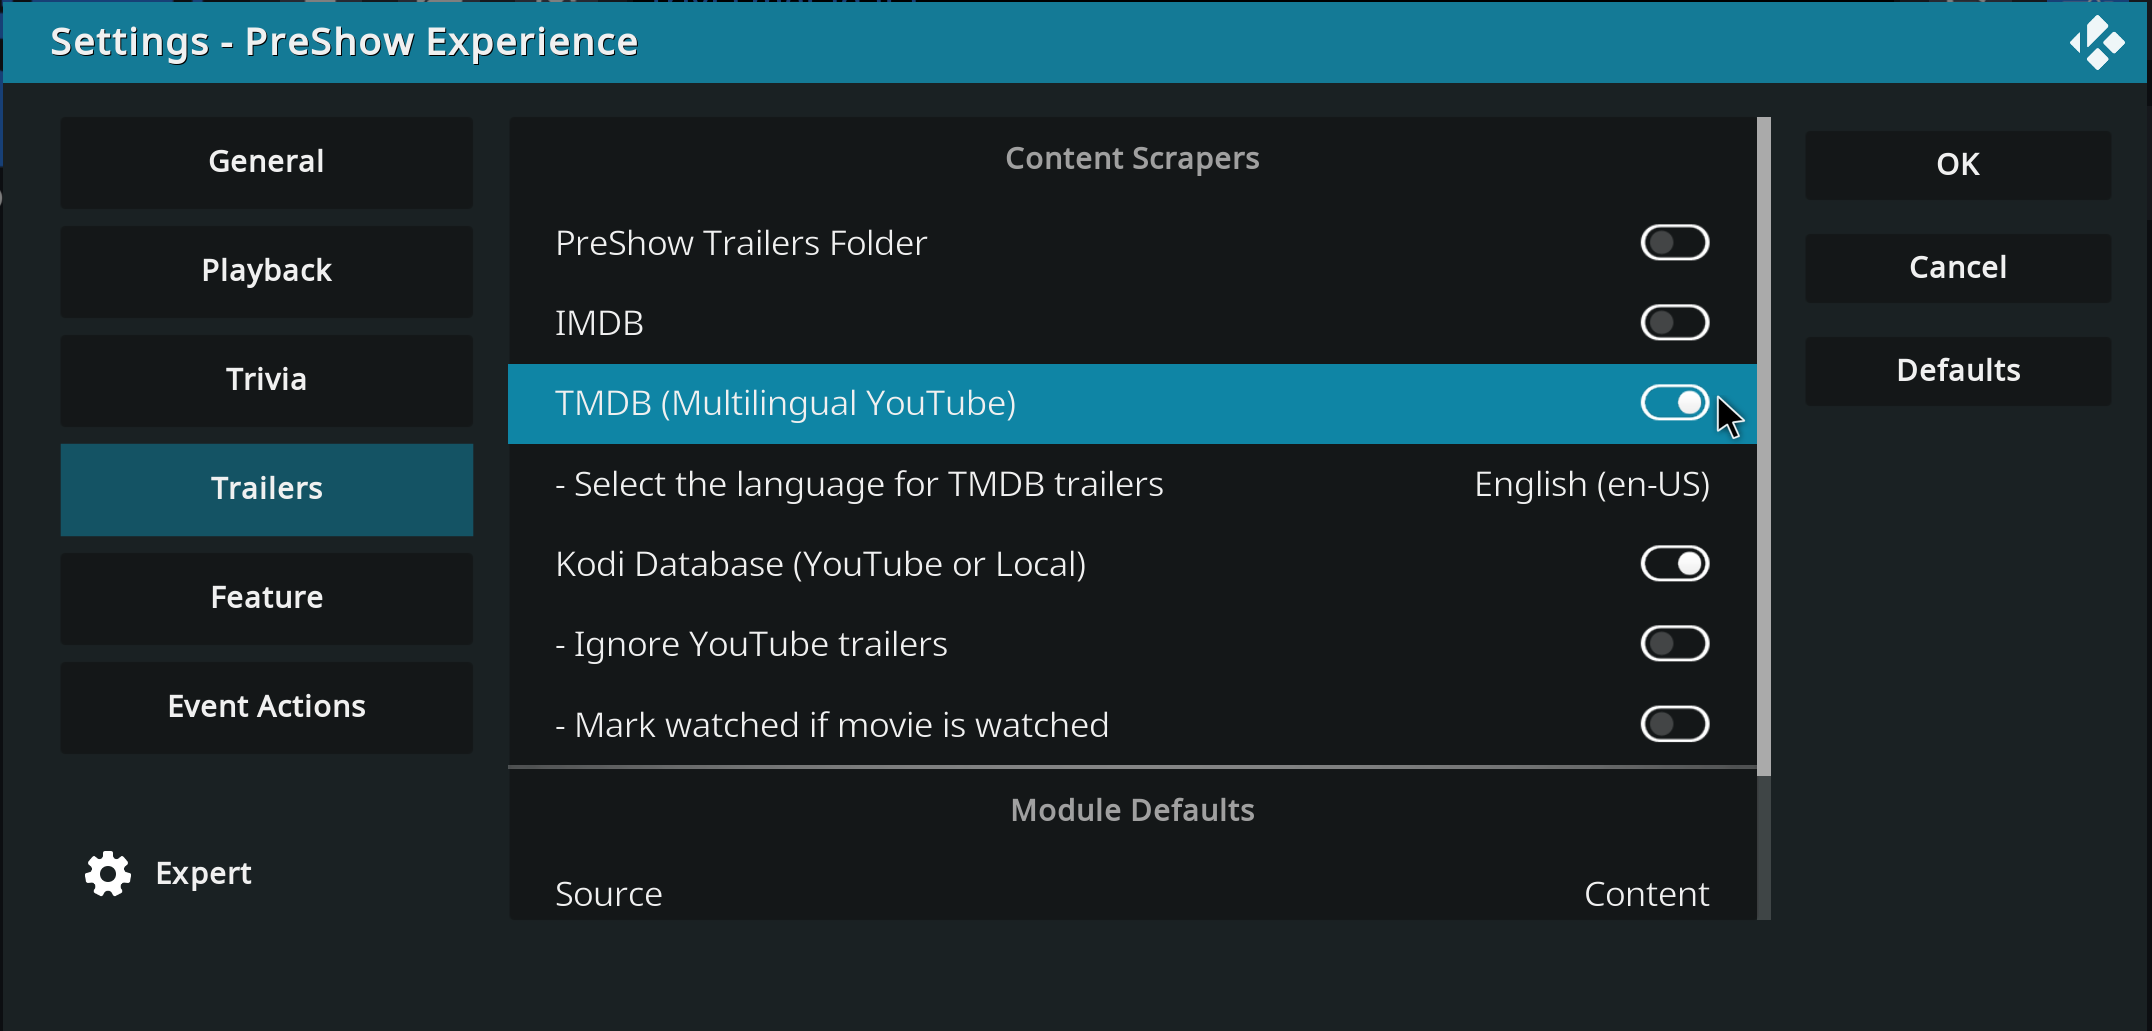
Hello, I hope you're all well... Until yesterday, my trailers in the pre-show were working normally... I have it configured to show trailers for movies I don't own, with the intention of discovering new things. But today it stopped working; it only pulls trailers for movies I have in the database, and if I disable the Kodi database option, it doesn't play any trailers at all, it just stays stuck on a black screen. Does anyone have any idea how I can solve this problem? Thank you in advance.
-
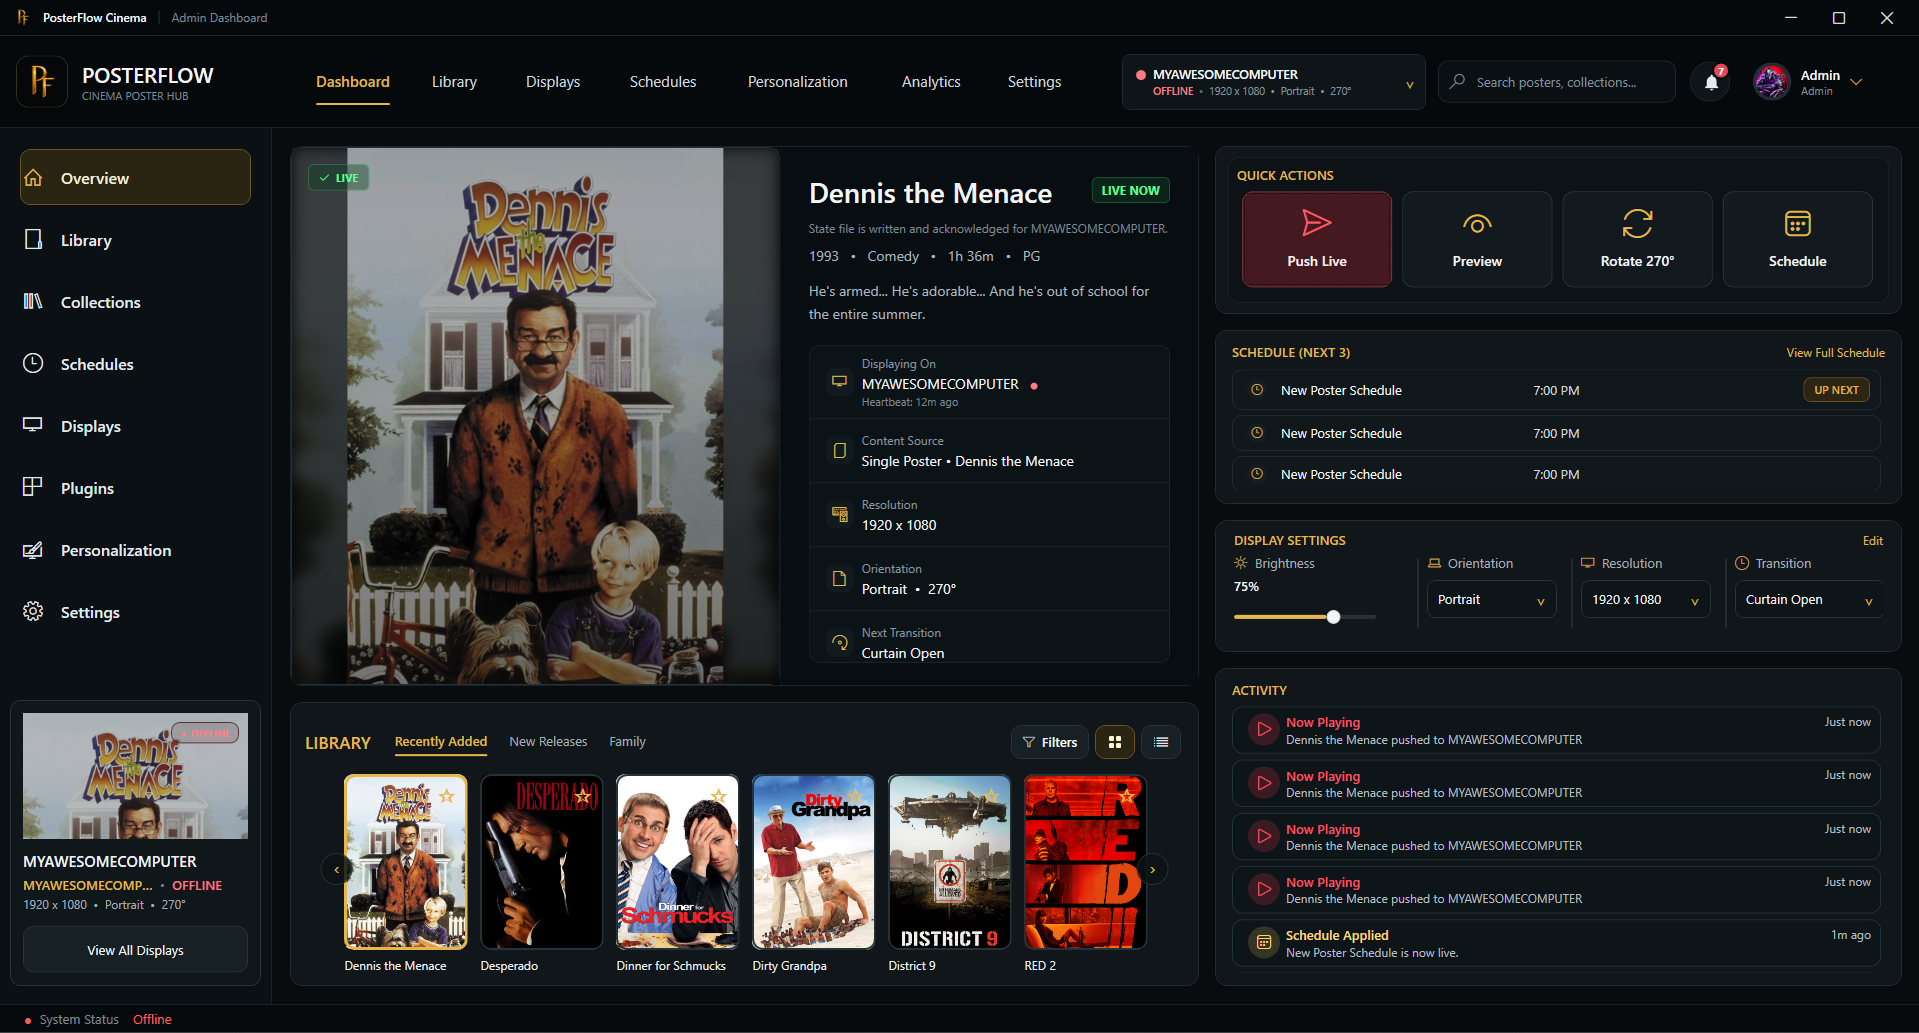
Hey everyone, I wanted to share an updated introduction to something I’ve been building called PosterFlow. PosterFlow started as a personal home theater project. I wanted a cleaner way to manage digital poster screens without constantly juggling folders, images, slideshow tools, display windows, schedules, and manual updates. The goal was to make poster displays feel more like part of a real cinema/preshow setup instead of just a rotating image folder. PosterFlow is a Windows desktop app with an
-
IMAX Countdown - Cameras (Made for IMAX) - 4K DTS-HD 5.0 Mix 4K MKV H.264 DTS-HD 5.0 Soundmix File Information Submitter ToastyMaster07 Submitted 05/26/2026 Category Countdown View File
-
THX - Spark 4K MKV Dolby TrueHD 5.1 Up-Mix File Information Submitter ToastyMaster07 Submitted 05/20/2026 Category Audio Format View File


Does anyone have any experience or tips for controlling these types of bulbs? There is no bridge so the Hue system doesn't work with them. I have been searching high and low and can only find some IFTTT controls, but I'm not sure how to integrate IFTTT into this addon...